
In many engineering firms or corporations, one recurring process is a budget request (or a request to purchase equipment, etc.). Such a request then needs approval from the people who manage the budget. There are many possible scenarios:
- In engineering and manufacturing companies: you need to order parts or semi-finished goods. Before the order is sent, the plant manager wants to review which products will be ordered and approve or reject the expense.
- In corporations: a Team Leader requests a budget for a team-building event. The regional manager has to approve the amount before the event.
In both cases, it's important that the request process be simple and as intuitive as possible, and that the person approving the budget or expense gets a notification or some other kind of alert that they have a request to approve. Without that, the person submitting the request has to send reminder emails (which pulls the approver away from their work or can create too much traffic in their inbox), or the request just waits indefinitely... and that's exactly what we want to avoid!
Odoo lets you build an efficient, simple budget request system. What's more - you can do it in a few different ways:
- Through the Approvals module (requires Odoo Enterprise)
- Through Studio (requires Odoo Enterprise in the Custom edition)
In the first case, you use the module dedicated to approvals - and the configuration options let you closely match the process you want. Studio requires more knowledge and care - in this case, you could, for example, extend the purchasing module.
The Approvals Module - Configuration and Capabilities
Settings
There's a dedicated module for the approval process - Approvals. In the Polish-language version, "Approvale" is "Zatwierdzenia."
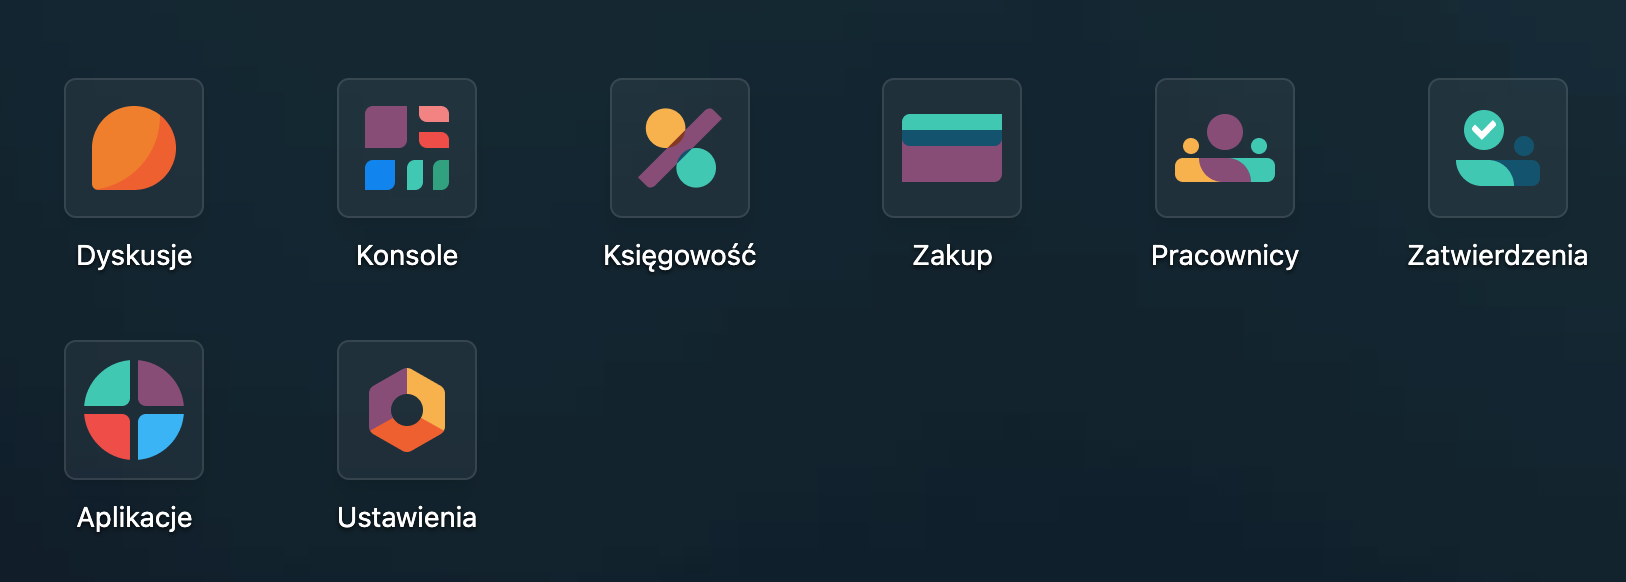
Image 1. View of the Approvals module among other modules - the Odoo main dashboard.
The module lets you define Approval categories - that is, the subject that will be approved. This could be, for example:
- A budget request
- A request to purchase products
- A leave request (though there's a separate module for that)
- A request to rent a company car
Odoo gives you a lot of freedom here - the approvals module can be used to approve any process you want to keep control over. Here's what category configuration looks like:
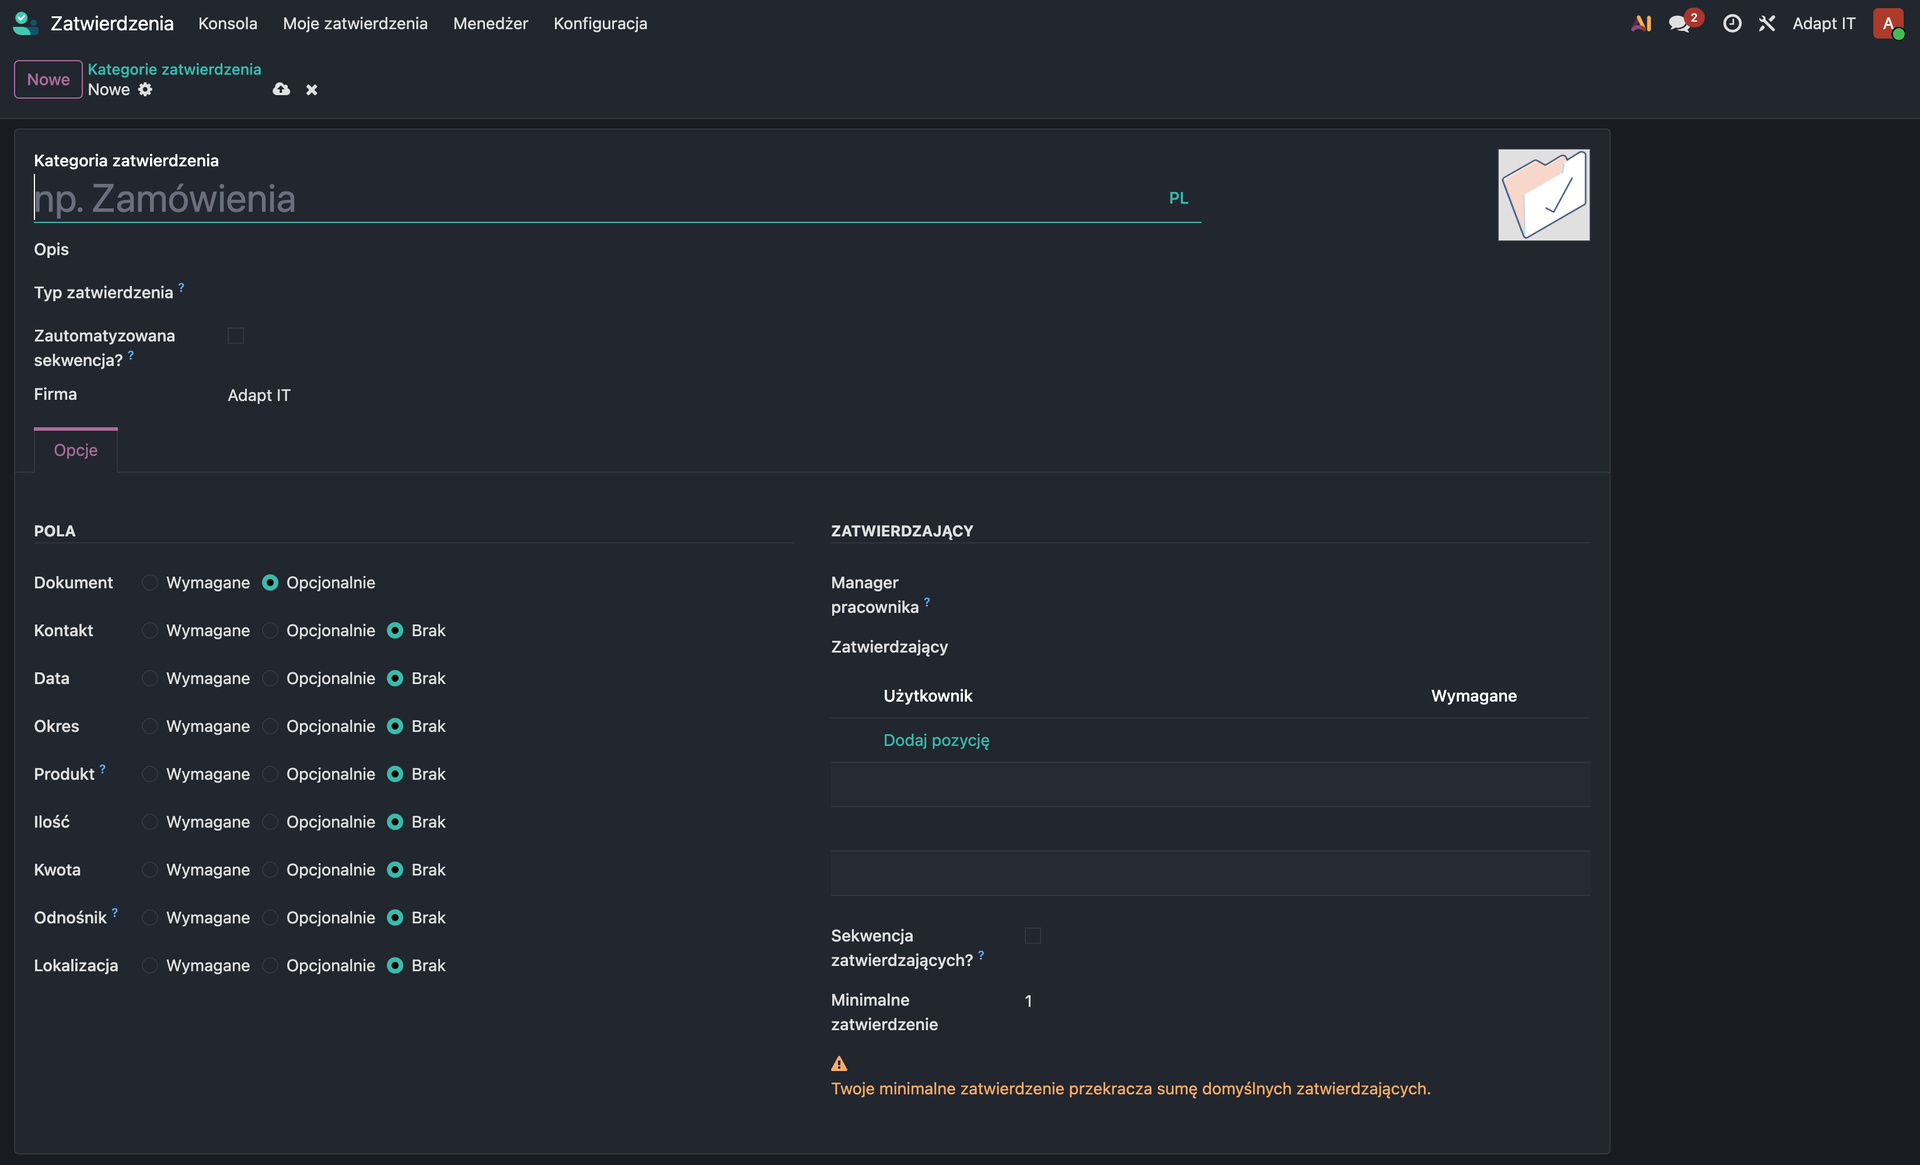
Image 2. Approval category configuration in Odoo Approvals
You need to name the category and give it a short description - that will help employees find the right category when they want to submit a request. The Approval Type field helps in specialized cases such as a purchasing process. Choosing "Purchase Process" means the product list from the approval is automatically copied to the purchase order created once the request is approved.
You also need to set up the approvers:
- Employee's Manager - does the employee's manager (set in the employee's settings) need to approve it?
- Approvers - the list of people who need to give their approval for it to take effect
- Approver Sequence - should the second approver in line only be asked to review the request after the first one has (an option to limit the number of requests reaching upper management)
Workflow
What does it look like from the employee's side when they want to make a request?
- The employee opens the Approvals module
- The employee creates a new request in the appropriate category
- The employee waits for the request to be approved
The employee's view after entering the Approvals module:
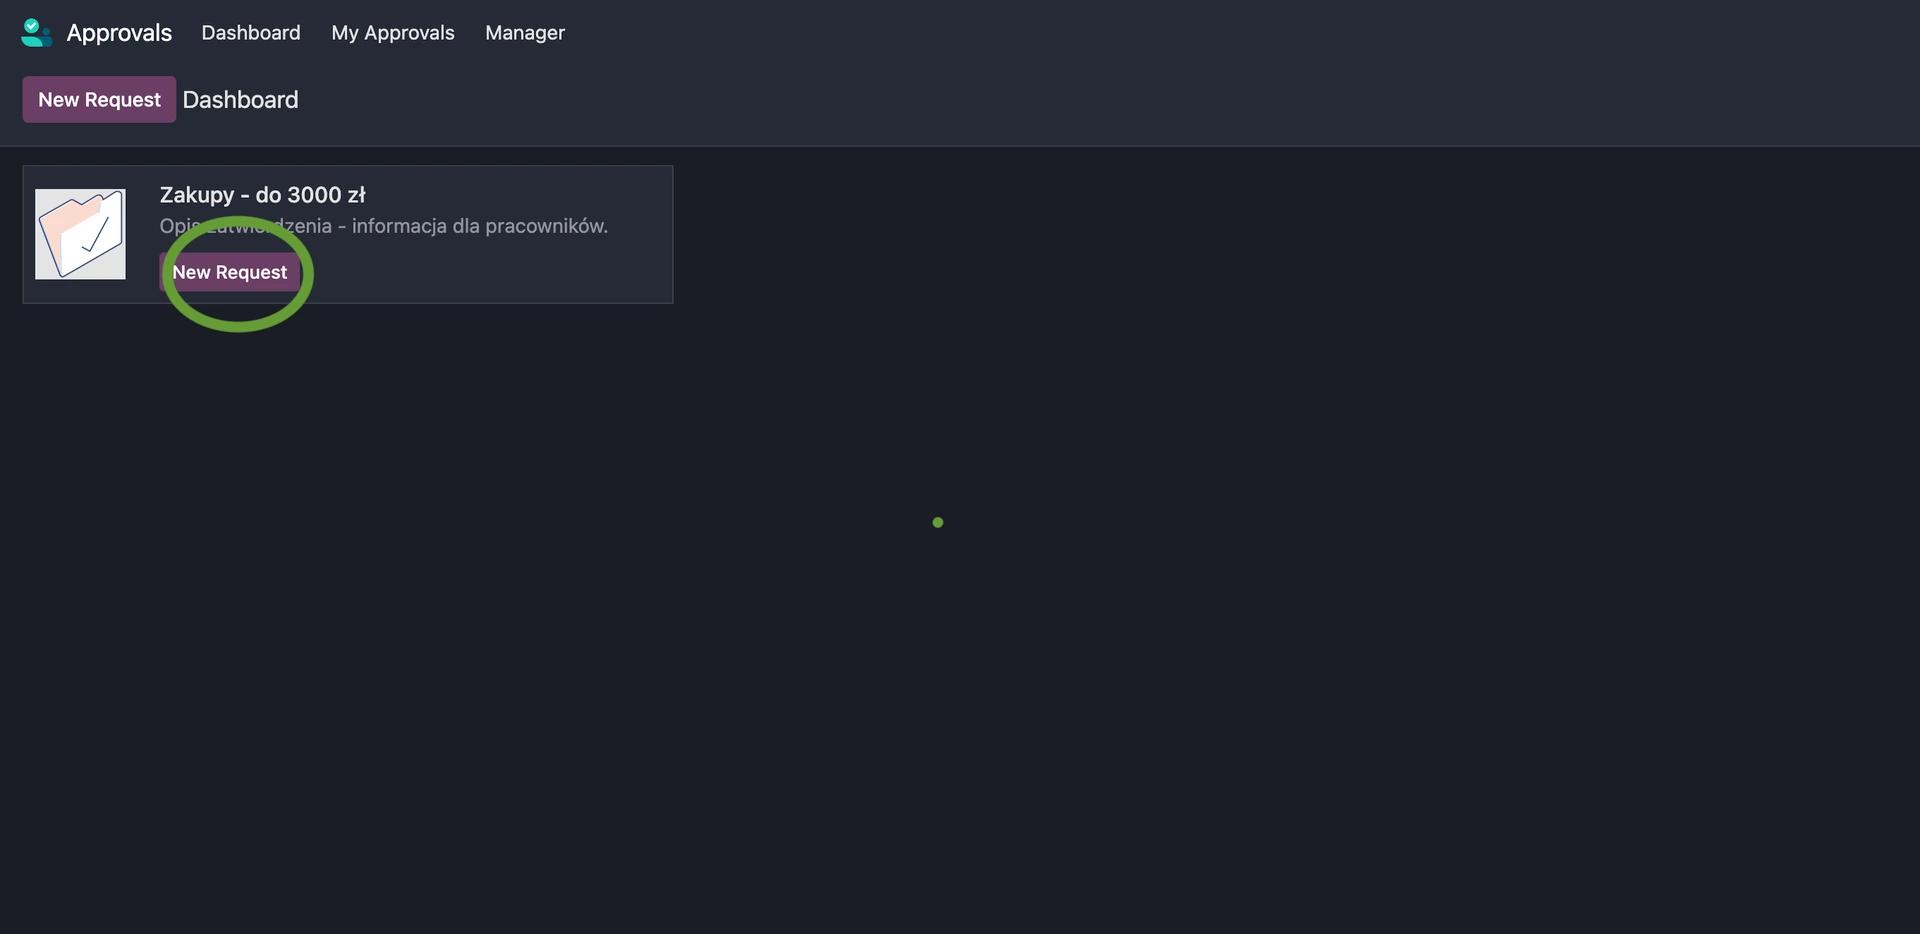
Image 3. View of Approval categories in the Approvals module
Next, after creating a New Request:
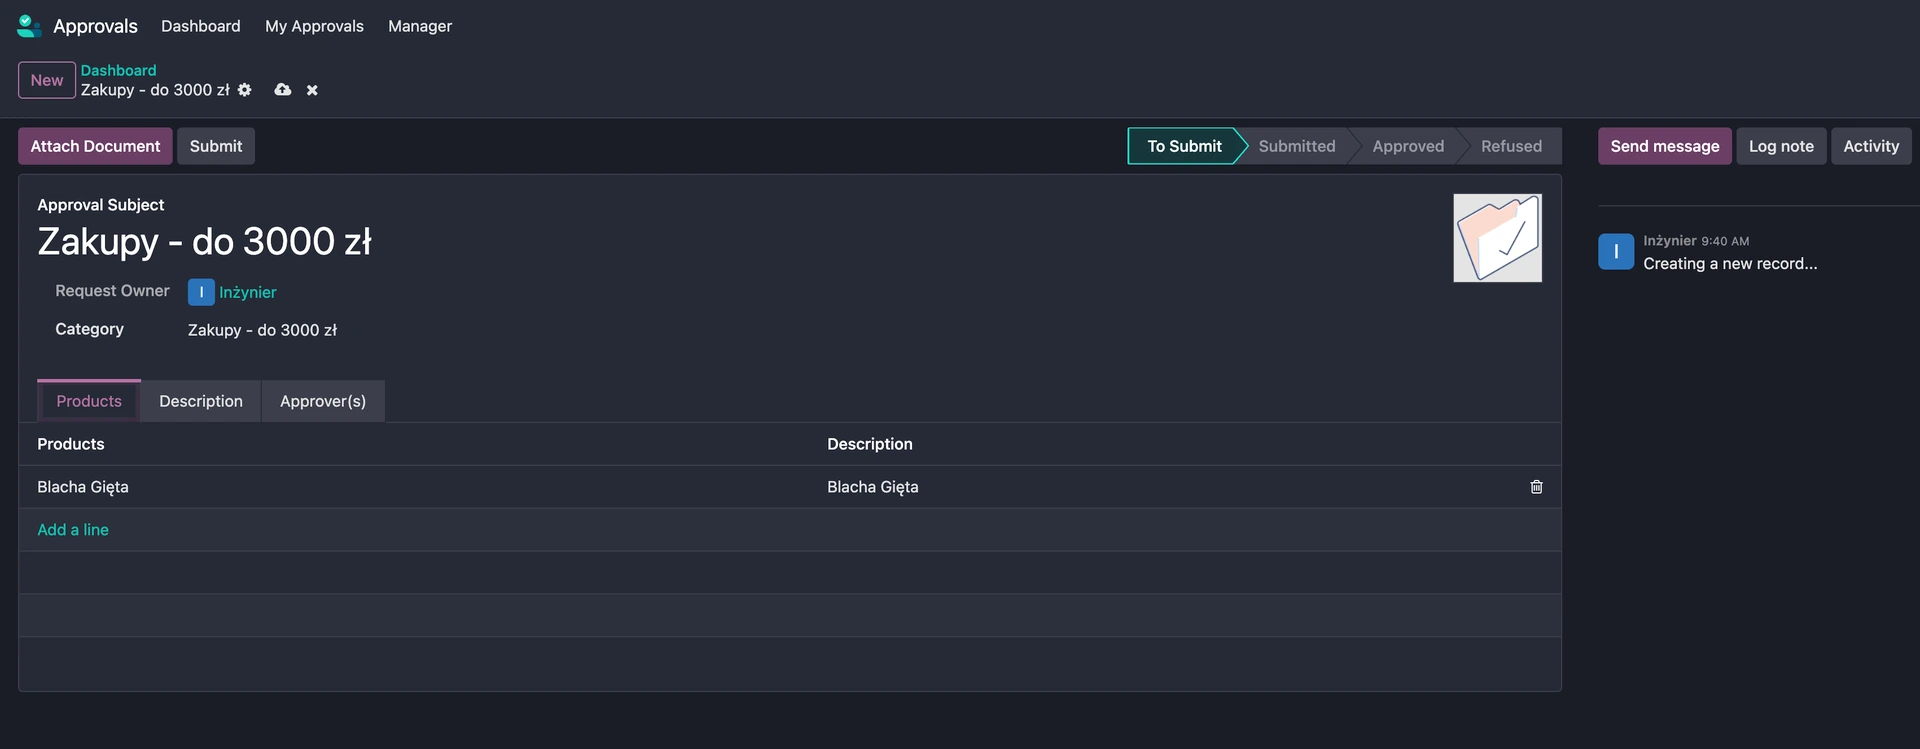
Image 4. View of creating an Approval Request
On this screen, the employee needs to define all the products (assuming we're creating a purchase request) and attach a document. Once that's done, the request needs to be sent by clicking the "Submit" button. Everyone marked as an Approver will get a notification - a new Activity labeled "Approval Request."
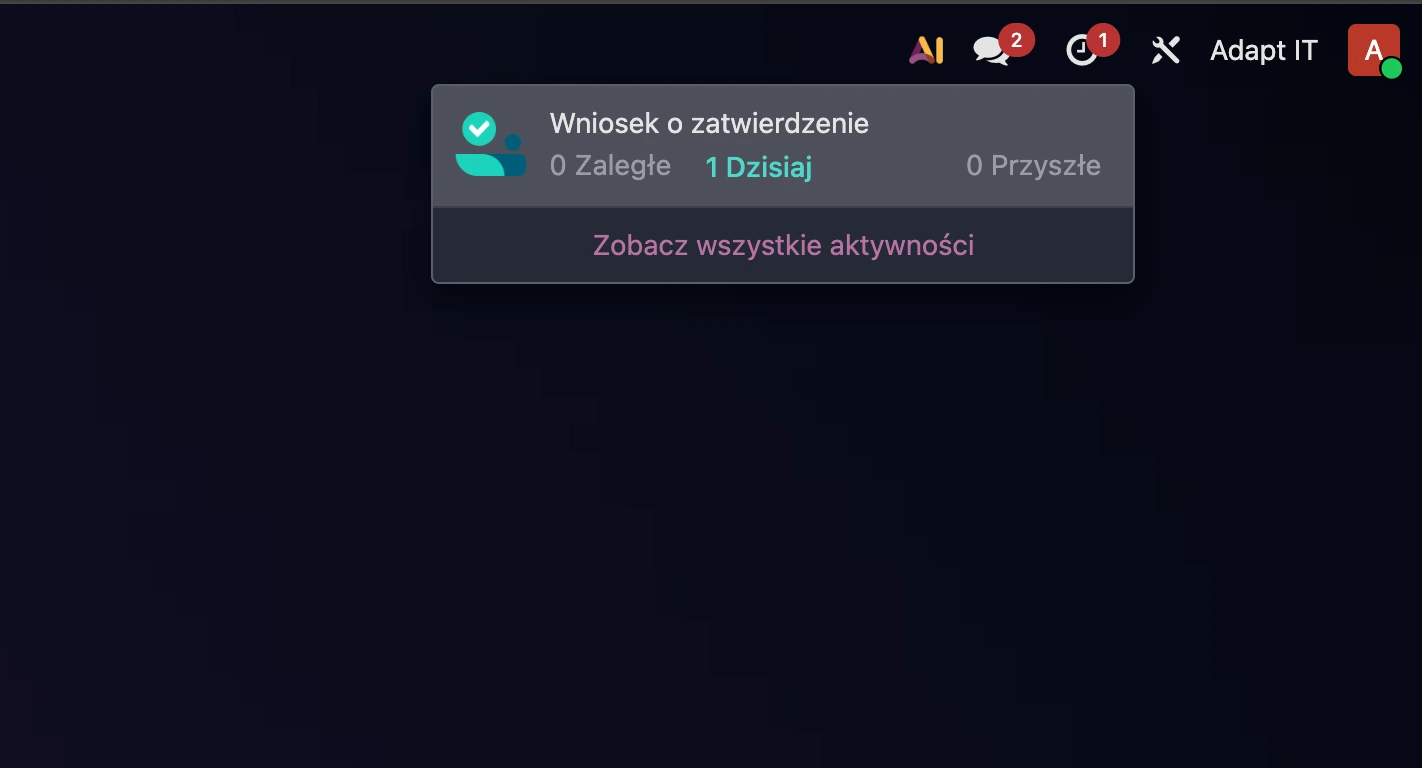
Image 5. View of the activity created after an employee submits an approval request
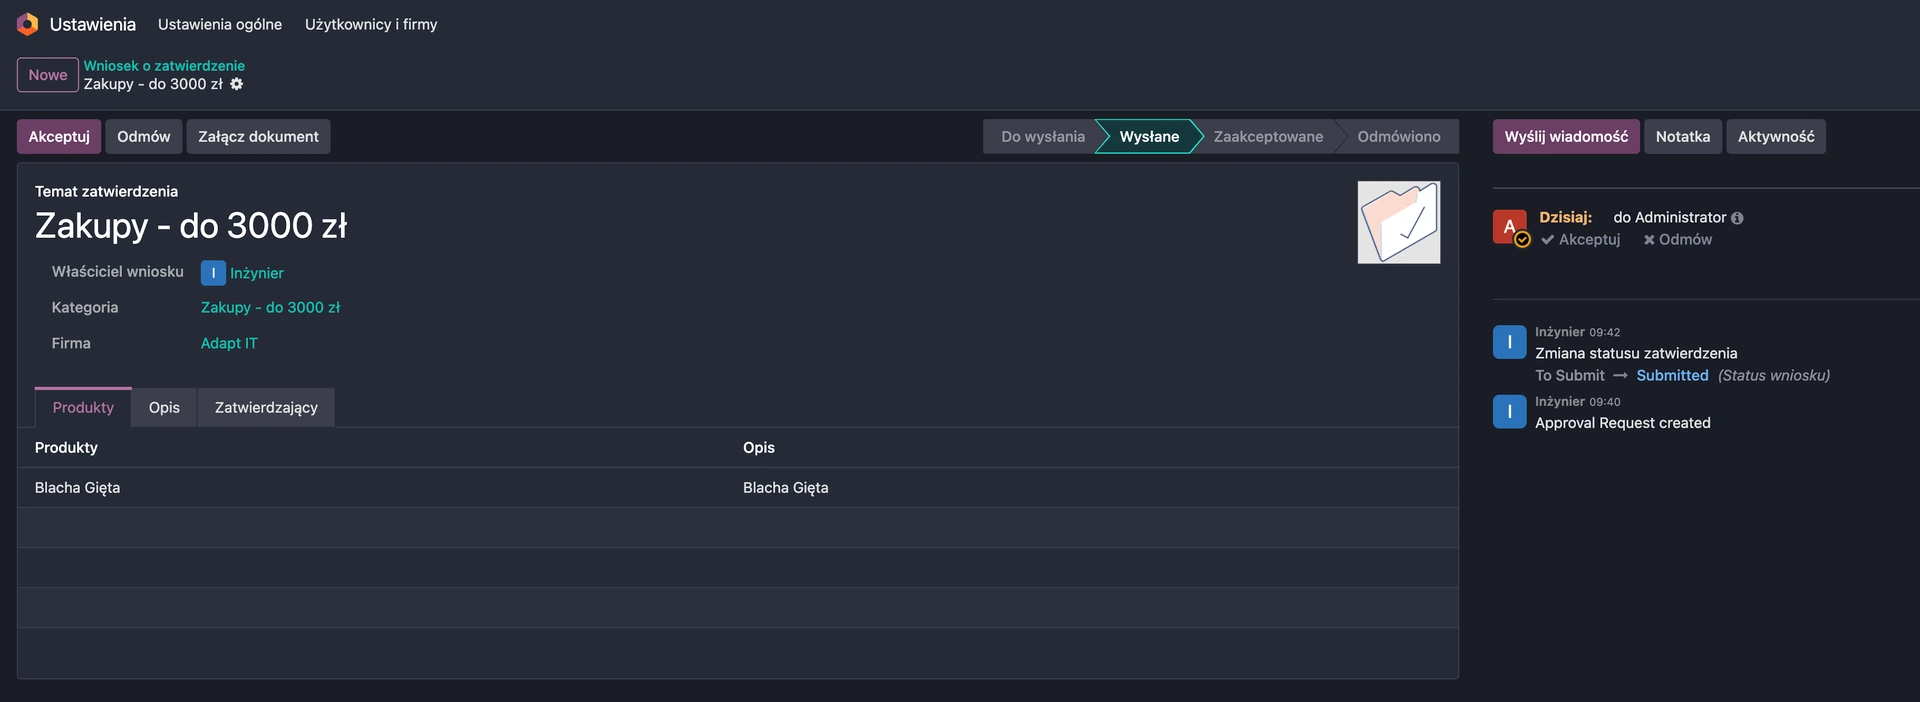
Image 6. View of the employee's request from the Approver's account
Clicking Approve or Refuse completes the request process - the next steps depend on the type of request.
Studio - Configuration and Capabilities
There's also a second method. It requires the most expensive Odoo license, which grants access to Studio. Studio is a module that lets you configure and change Odoo - adding fields to models, changing views, and editing... pretty much everything in Odoo!
With Studio, we can add an Approval to a button. I'll show this using a request for quotation as an example. Here's the standard order view:
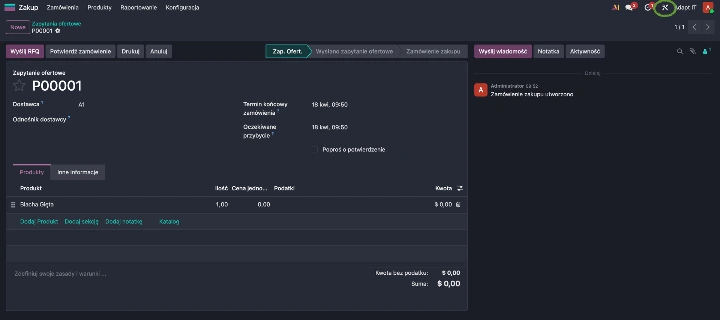
Image 7. Standard order view (request for quotation) in Odoo 19
If we want to restrict who can approve an order, we need to add an Approval to that button in Studio. You enter Studio by clicking the wrench-and-pencil icon (top right corner, next to the company name). By default, Studio opens on the view you're currently on. While on the PO form view, Studio will look like this:
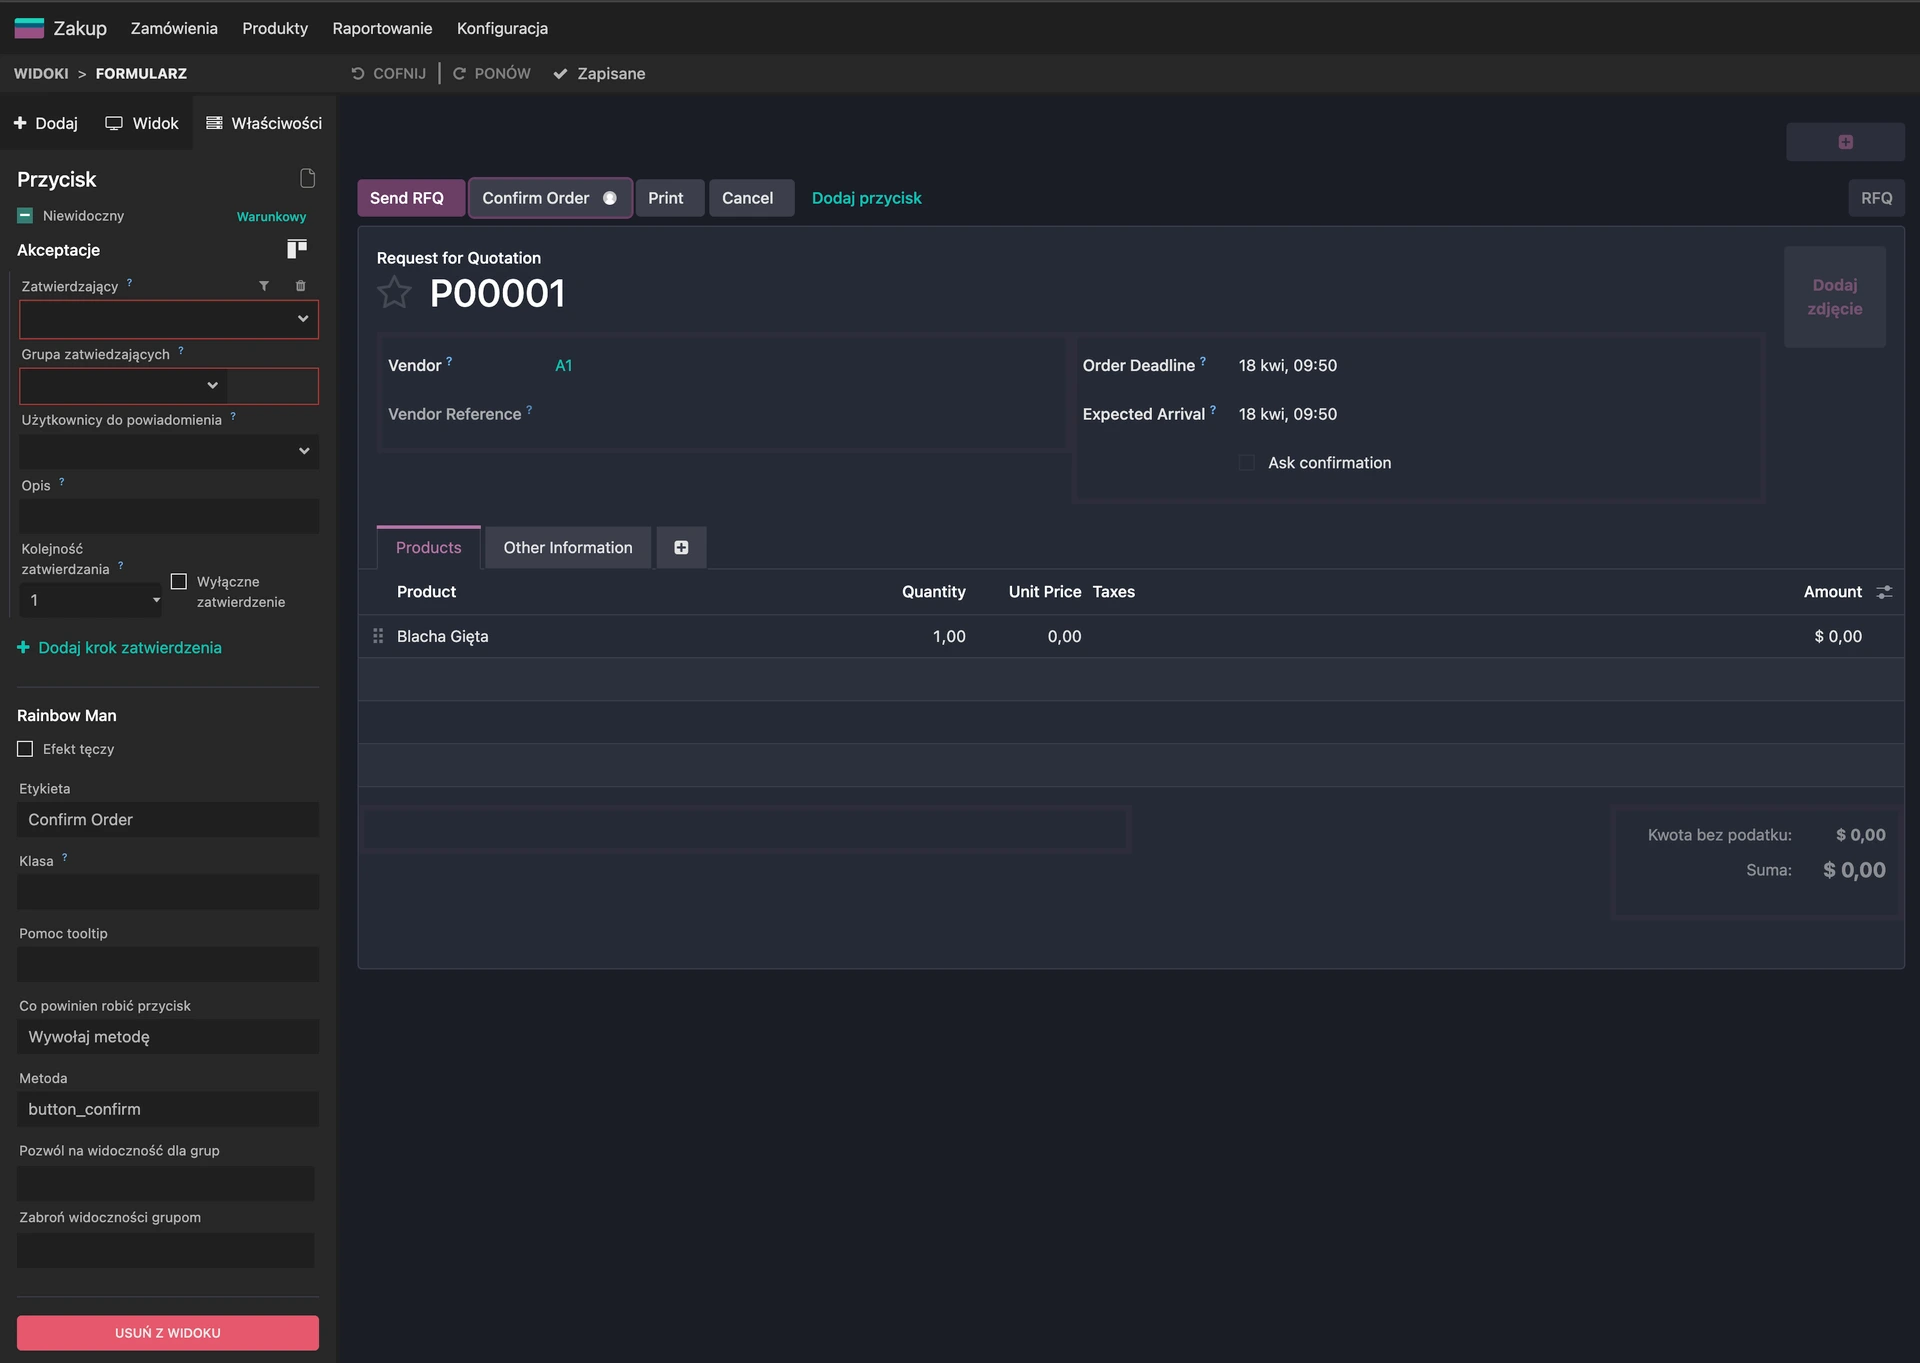
Image 8. View of Studio in Odoo - editing the order Confirmation button
After entering Studio, you need to click the button you want to add the Approval to. After that action, a context panel opens on the left side. You need to add "Approvals" there. Further configuration requires specifying who needs to Confirm and what the approval steps are. Once correctly configured, a user icon is added to the Confirm Order button. If someone clicks that button, an Approval request is automatically created, and the confirmation action can't be completed without the Approval:
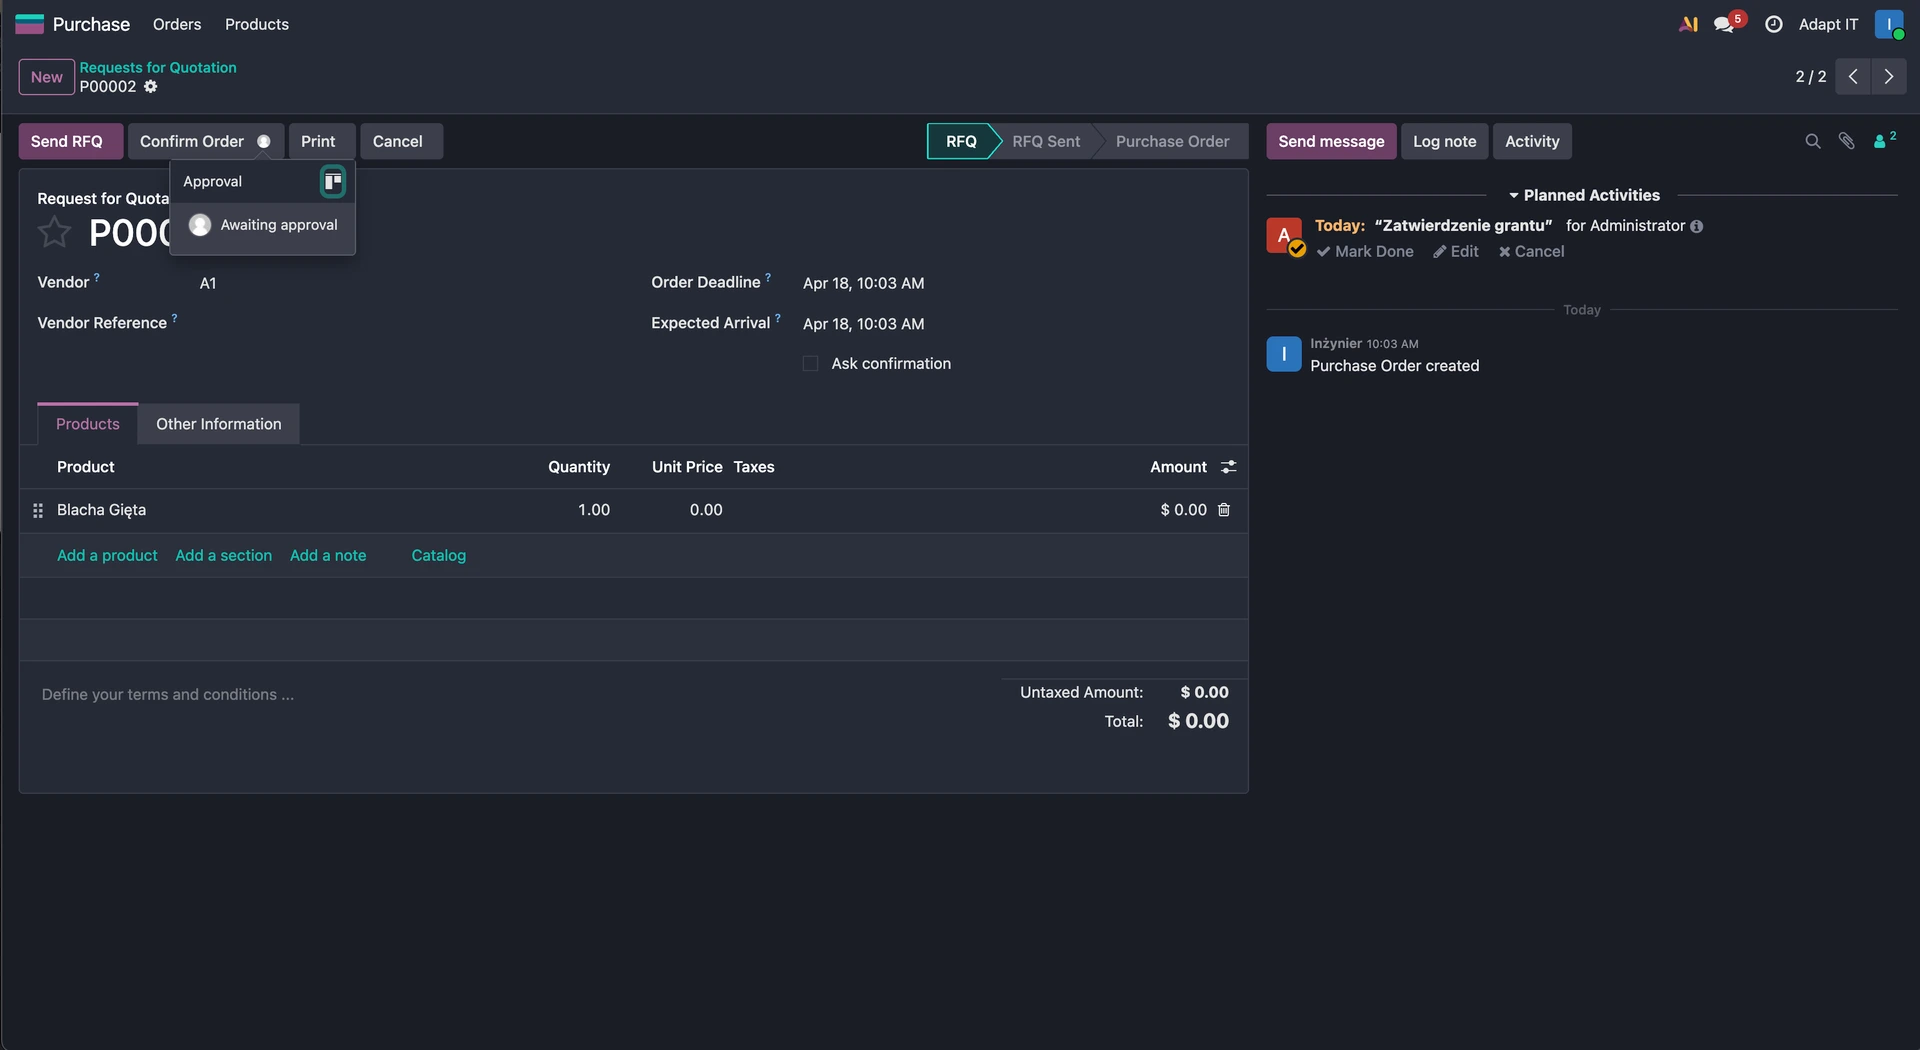
Image 9. View of the PO form after configuring an Approval on the button's action
Summary
There are many ways to quickly implement an approval process. The simplest ones are the ones shown above - using the module and using changes made in Studio. That lets you customize the process on the Odoo SaaS version.
A more advanced approach to changing processes requires access to the code - meaning you need Odoo on your own server, or, for example, Odoo.SH.