
Odoo updates
Every so often, Odoo releases a new, improved version of its software. Just a few weeks ago, Odoo 19.0 was presented, bringing a number of exciting improvements. So how do you start using them if your database is running on an older version of the system (note: the 19.0 online version will only be available in a few weeks)?
The answer is the migration process. In this post, based on my own experience, I'll show you what it looks like, step by step.
Why is migration a process, not a single click?
You can find information about your database's current version in your Odoo account, under the "My Databases" tab. You'll notice that the migration process has to be initiated manually. This is a deliberate measure on Odoo's part, meant to protect users from potential issues such as incompatibility of custom modules or changes in the data structure between versions.
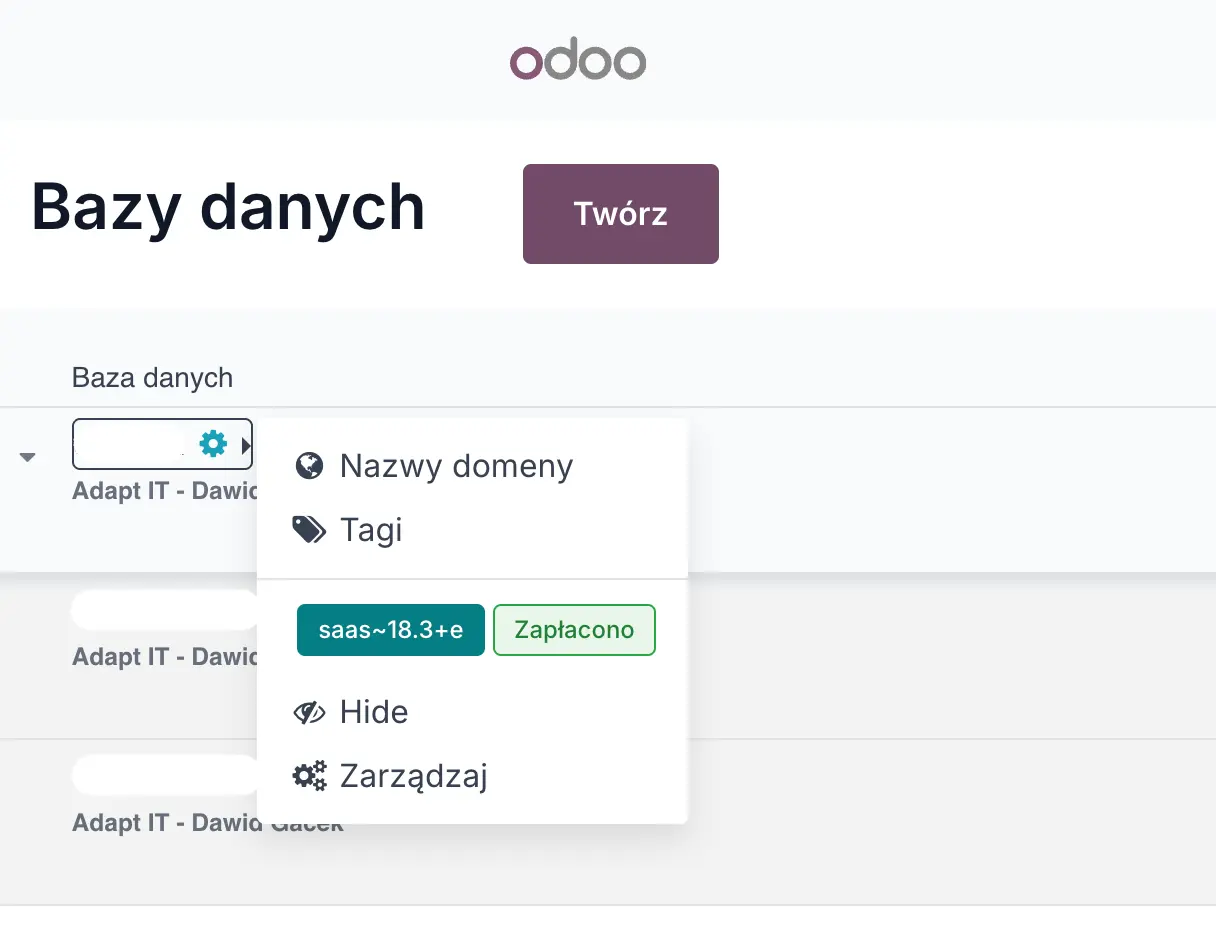
You'll find information about the current version by going to "My Databases" in your Odoo account.
How to upgrade Odoo step by step
Step 1: Create a test database
The first and mandatory step is to create a test migration – migrating "straight to production" isn't possible. In the database management panel, click the "Upgrade" button. Then, in the wizard:
- Choose the target version you want to migrate to.
- Provide the email address the notification will be sent to.
- Click "Create" and wait for the confirmation message.
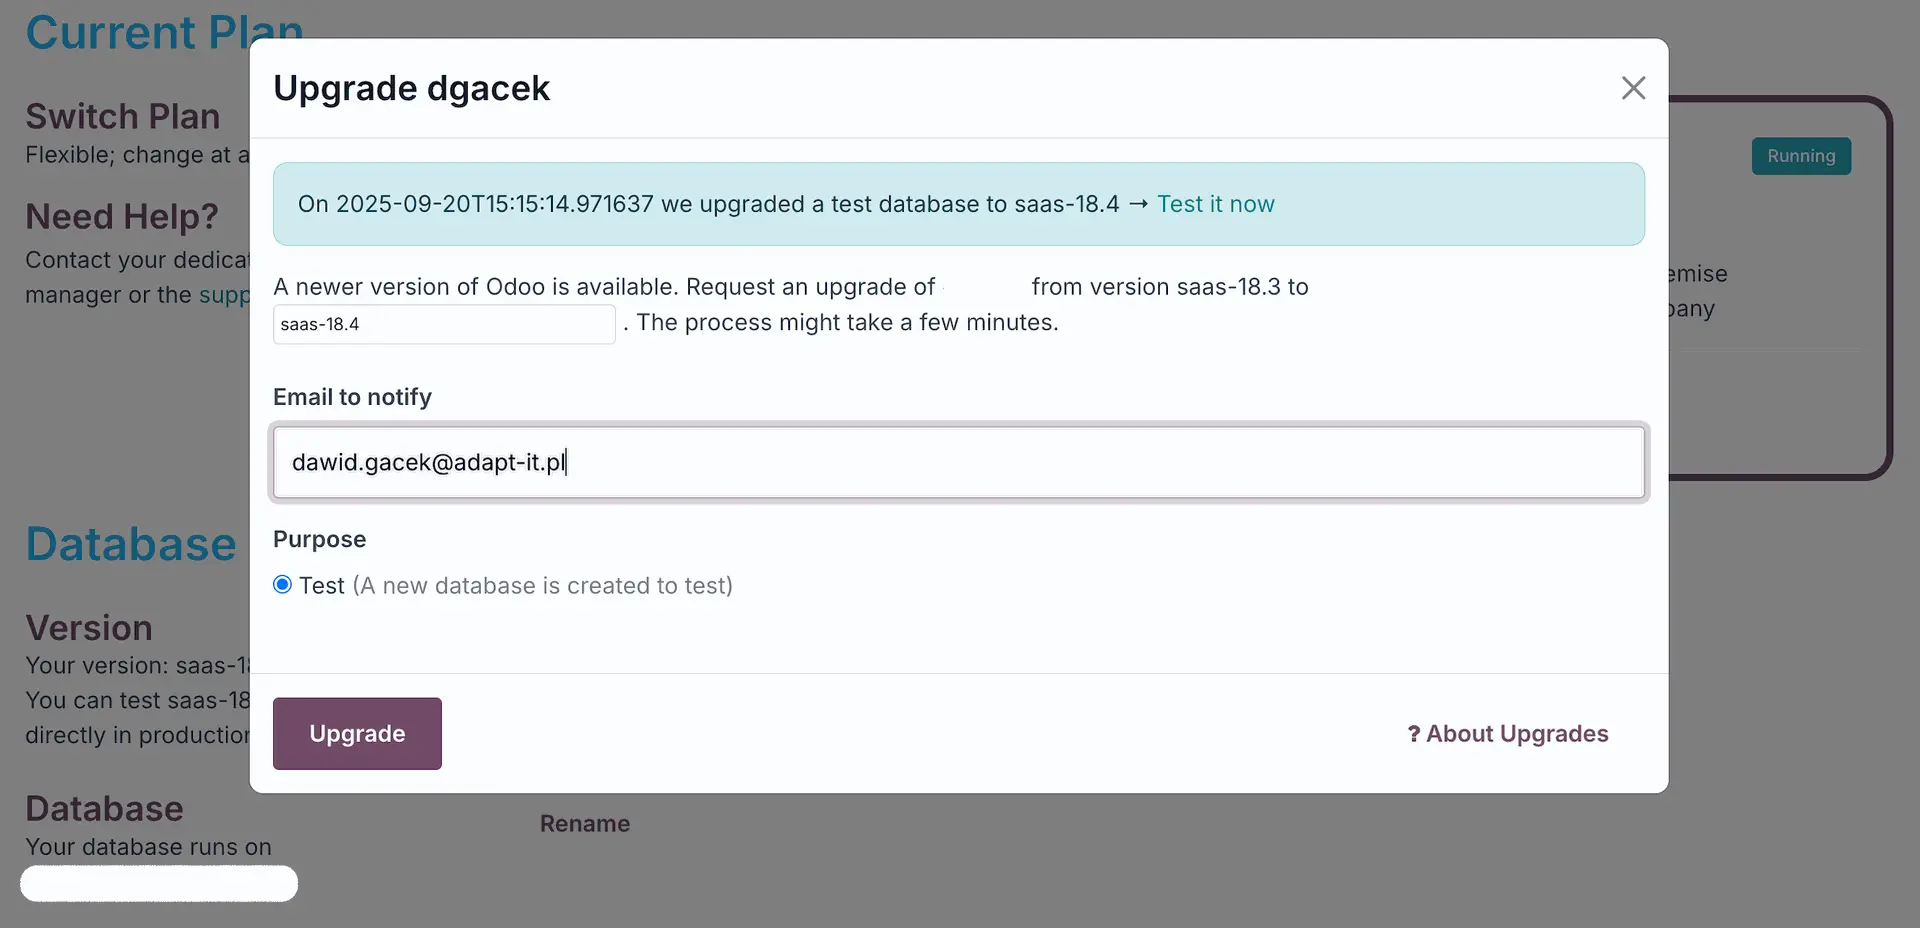
Migration selection view - test migration
Important note: The test database is an exact copy of your production database, but with key functions disabled, such as sending emails and scheduled tasks (cron). This lets you safely test the system without the risk of accidentally sending messages to your customers.
Step 2: Verification and testing – the most important stage
This is an absolutely critical stage of the entire process, requiring thoroughness and an adequate amount of time. Don't assume everything worked perfectly – you need to check it carefully. Click through the processes that are key to your business, note any bugs you find, and report them to Odoo support before starting the production migration.
During my most recent migration from version 18.3 to 18.4, I noticed the following issues:
- Website: Backgrounds for highlighted text turned black in some places.
- Website: The two-level navigation menu was "flattened" to a single level.
- Projects: The default view changed, which meant some subtasks weren't immediately visible.
Tip: Before you start testing, it's worth reviewing the official release notes for the new version. This documentation (available here for 18.4) often points out which modules underwent the biggest changes, letting you focus your testing on the most important areas.
Step 3: Production migration
Once you're confident the test version works correctly, you can move on to the final step. An option to run the production migration will appear in the databases panel.
Key information about the production migration:
- No synchronization with the test database: No changes or new data entered in the test database are copied to the production database. This step migrates your original, production database again.
- Downtime: For the duration of the migration, your database (including the website) will be unavailable. It's worth carrying out this process at night or on a weekend to minimize disruption for users.
- Patience is key: During the migration, your domain may briefly show a 404 error stating that the database was not found. Don't worry about this – simply wait for the email confirming the process is complete. While it can take up to a few hours, my recent experience shows it's often a matter of just a dozen or so minutes.
Once you receive the confirmation, all that's left is to enjoy the new Odoo version and its improved features!
The migration process, while simple in principle, requires attention and time. If you feel you'd rather focus on your business and leave the technical side of the upgrade to an expert, an Odoo partner like Adapt IT can guide you through this process safely and efficiently.